Use refill cartridges in the Surecolor SC-P700 / SC-P900

SureColor SC-P900 / SC-P700: How to Refill a Refill Cartridge
Please read the complete instructions before you begin.
Important: Always use a suitable protective surface when handling ink.
What You Need
- Ink
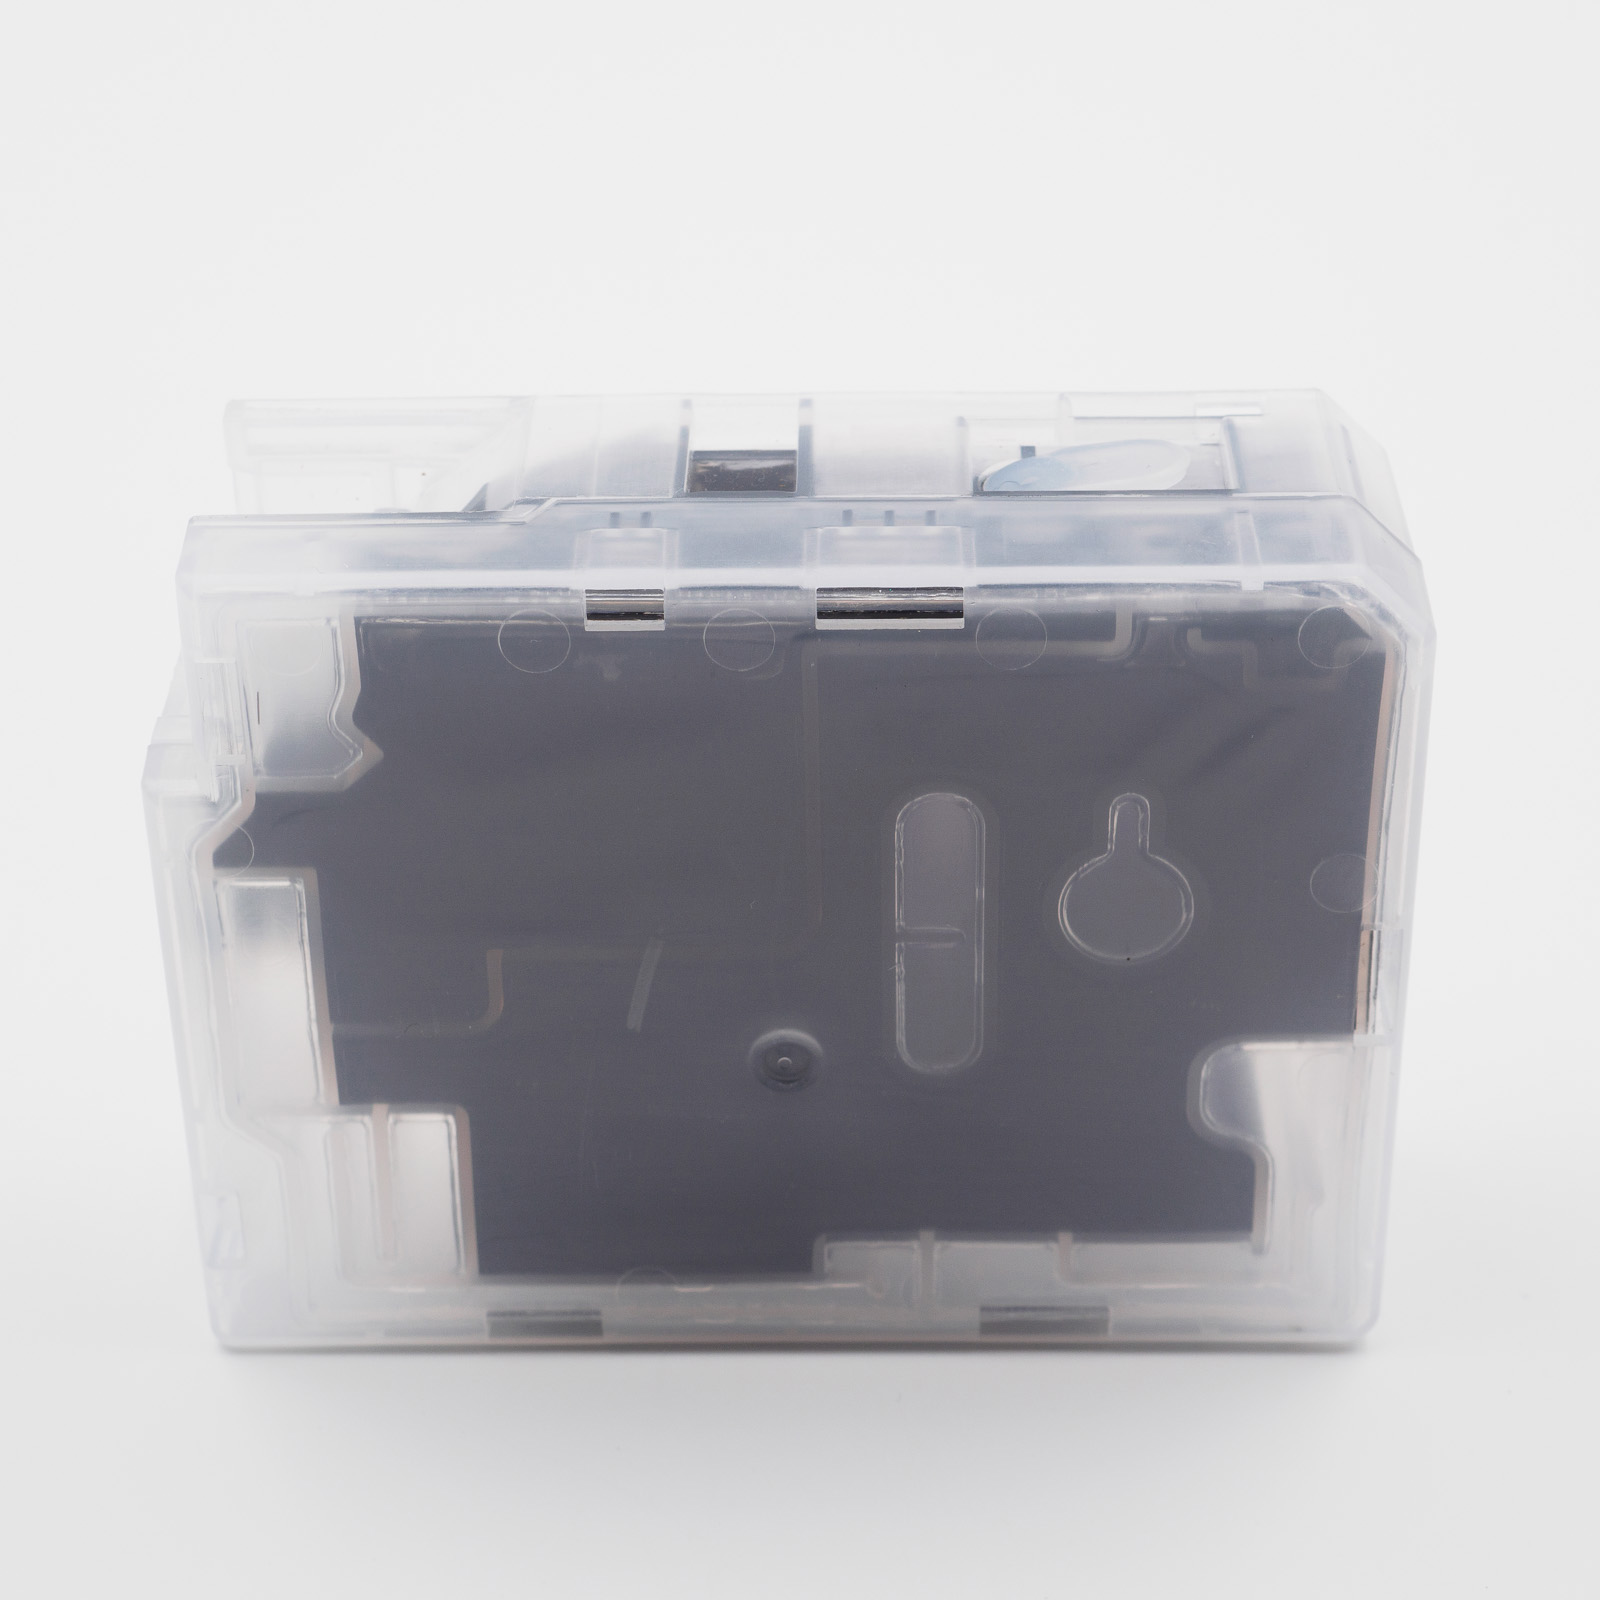
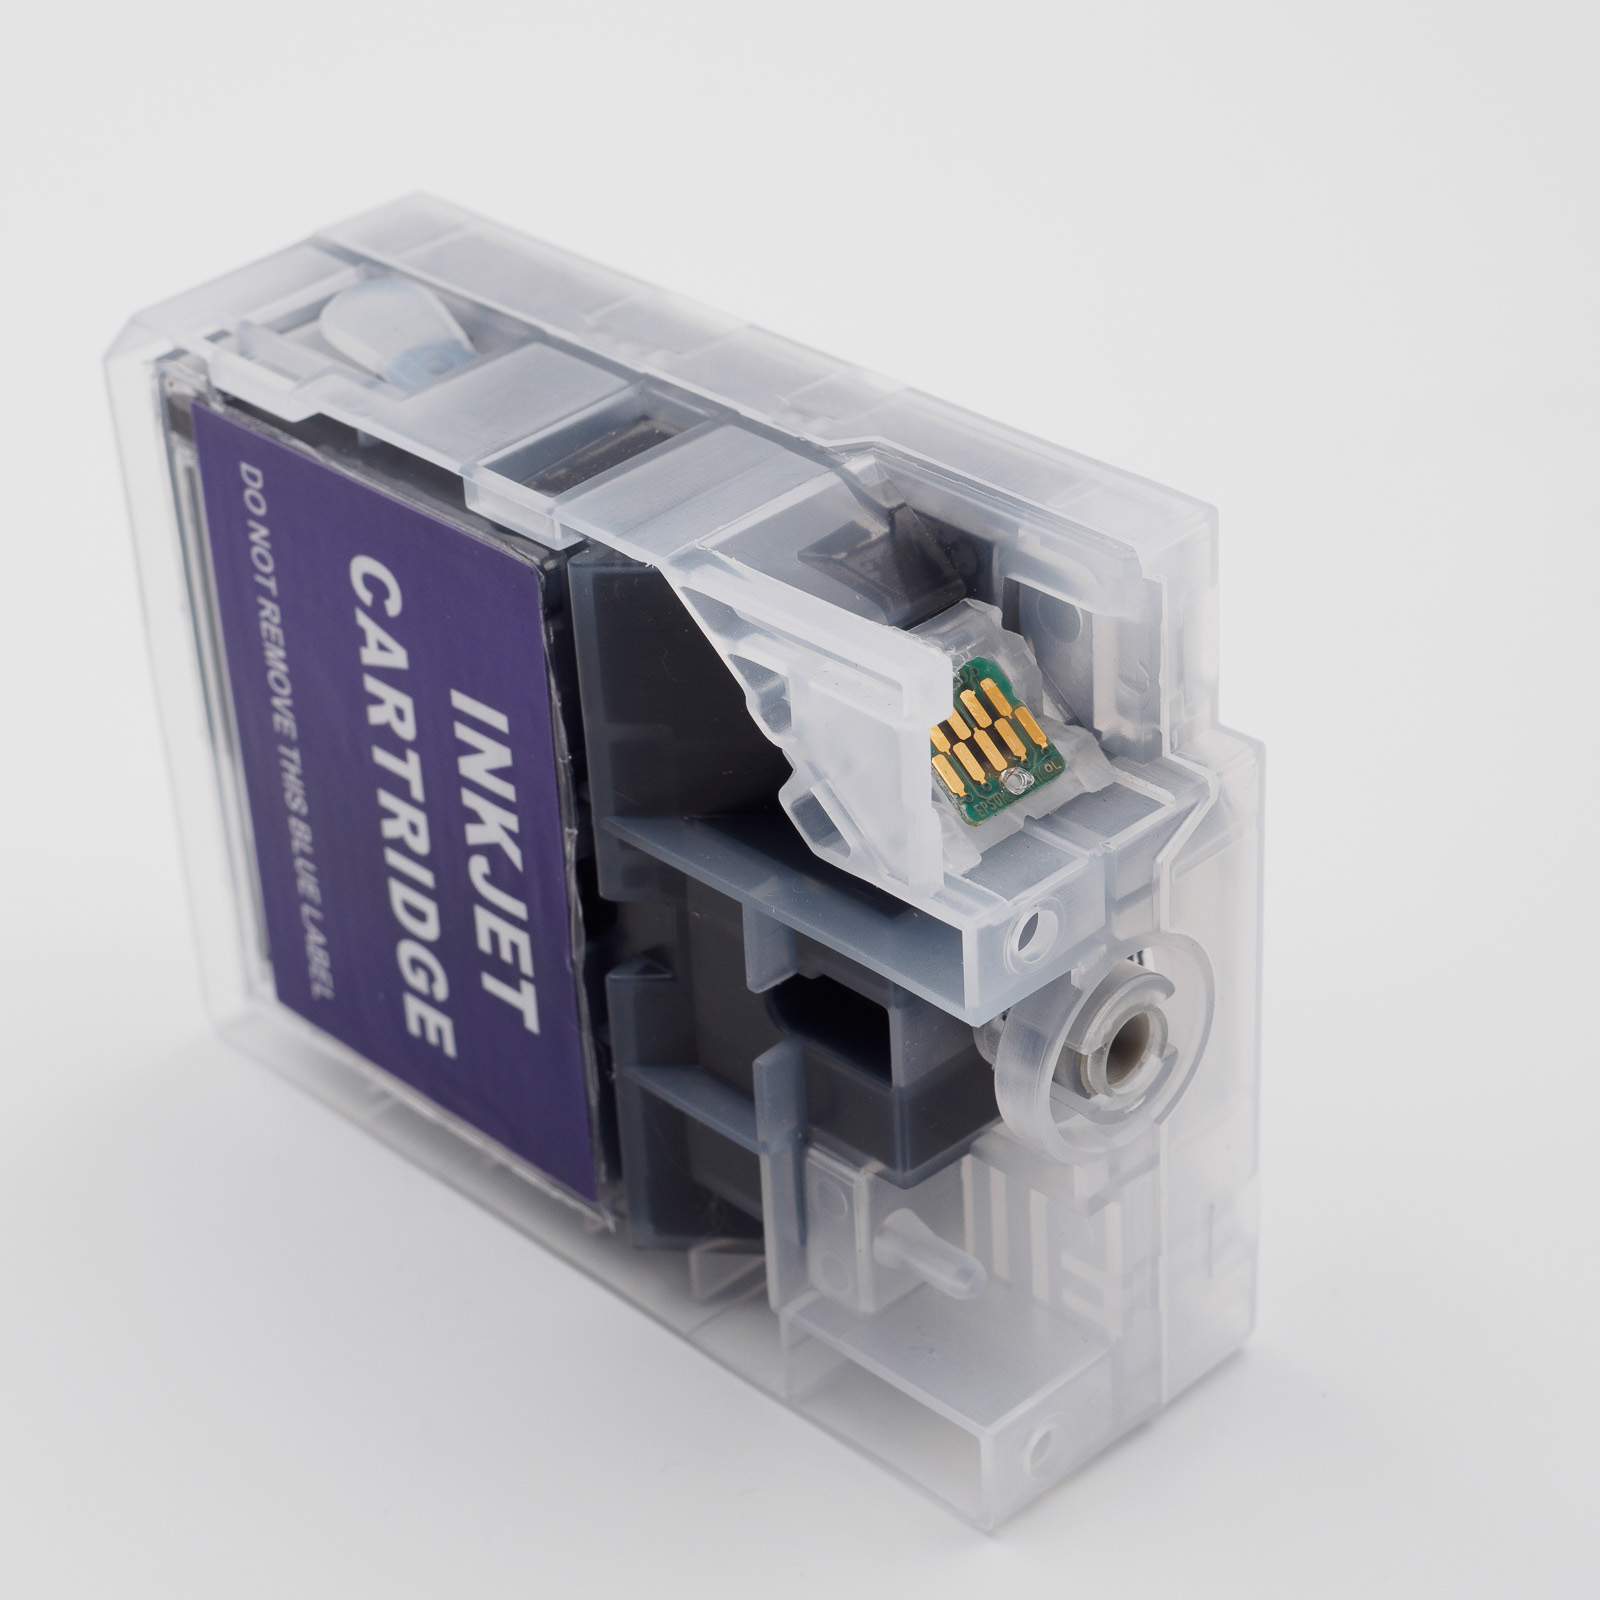
- Empty refillable cartridge
- Syringe with needle
- Utility knife
- Small flat-head screwdriver
- Optional: paper towels
- Original cartridge chip
- Compatible chip resetter for SC-P900 / SC-P700
Important Notice:
Regularly check the ink level of your cartridges visually. A cartridge should never be completely emptied, as this may allow air to enter the ink system. If this happens, extensive cleaning may be required to restore proper operation.
Regularly check the ink level of your cartridges visually. A cartridge should never be completely emptied, as this may allow air to enter the ink system. If this happens, extensive cleaning may be required to restore proper operation.
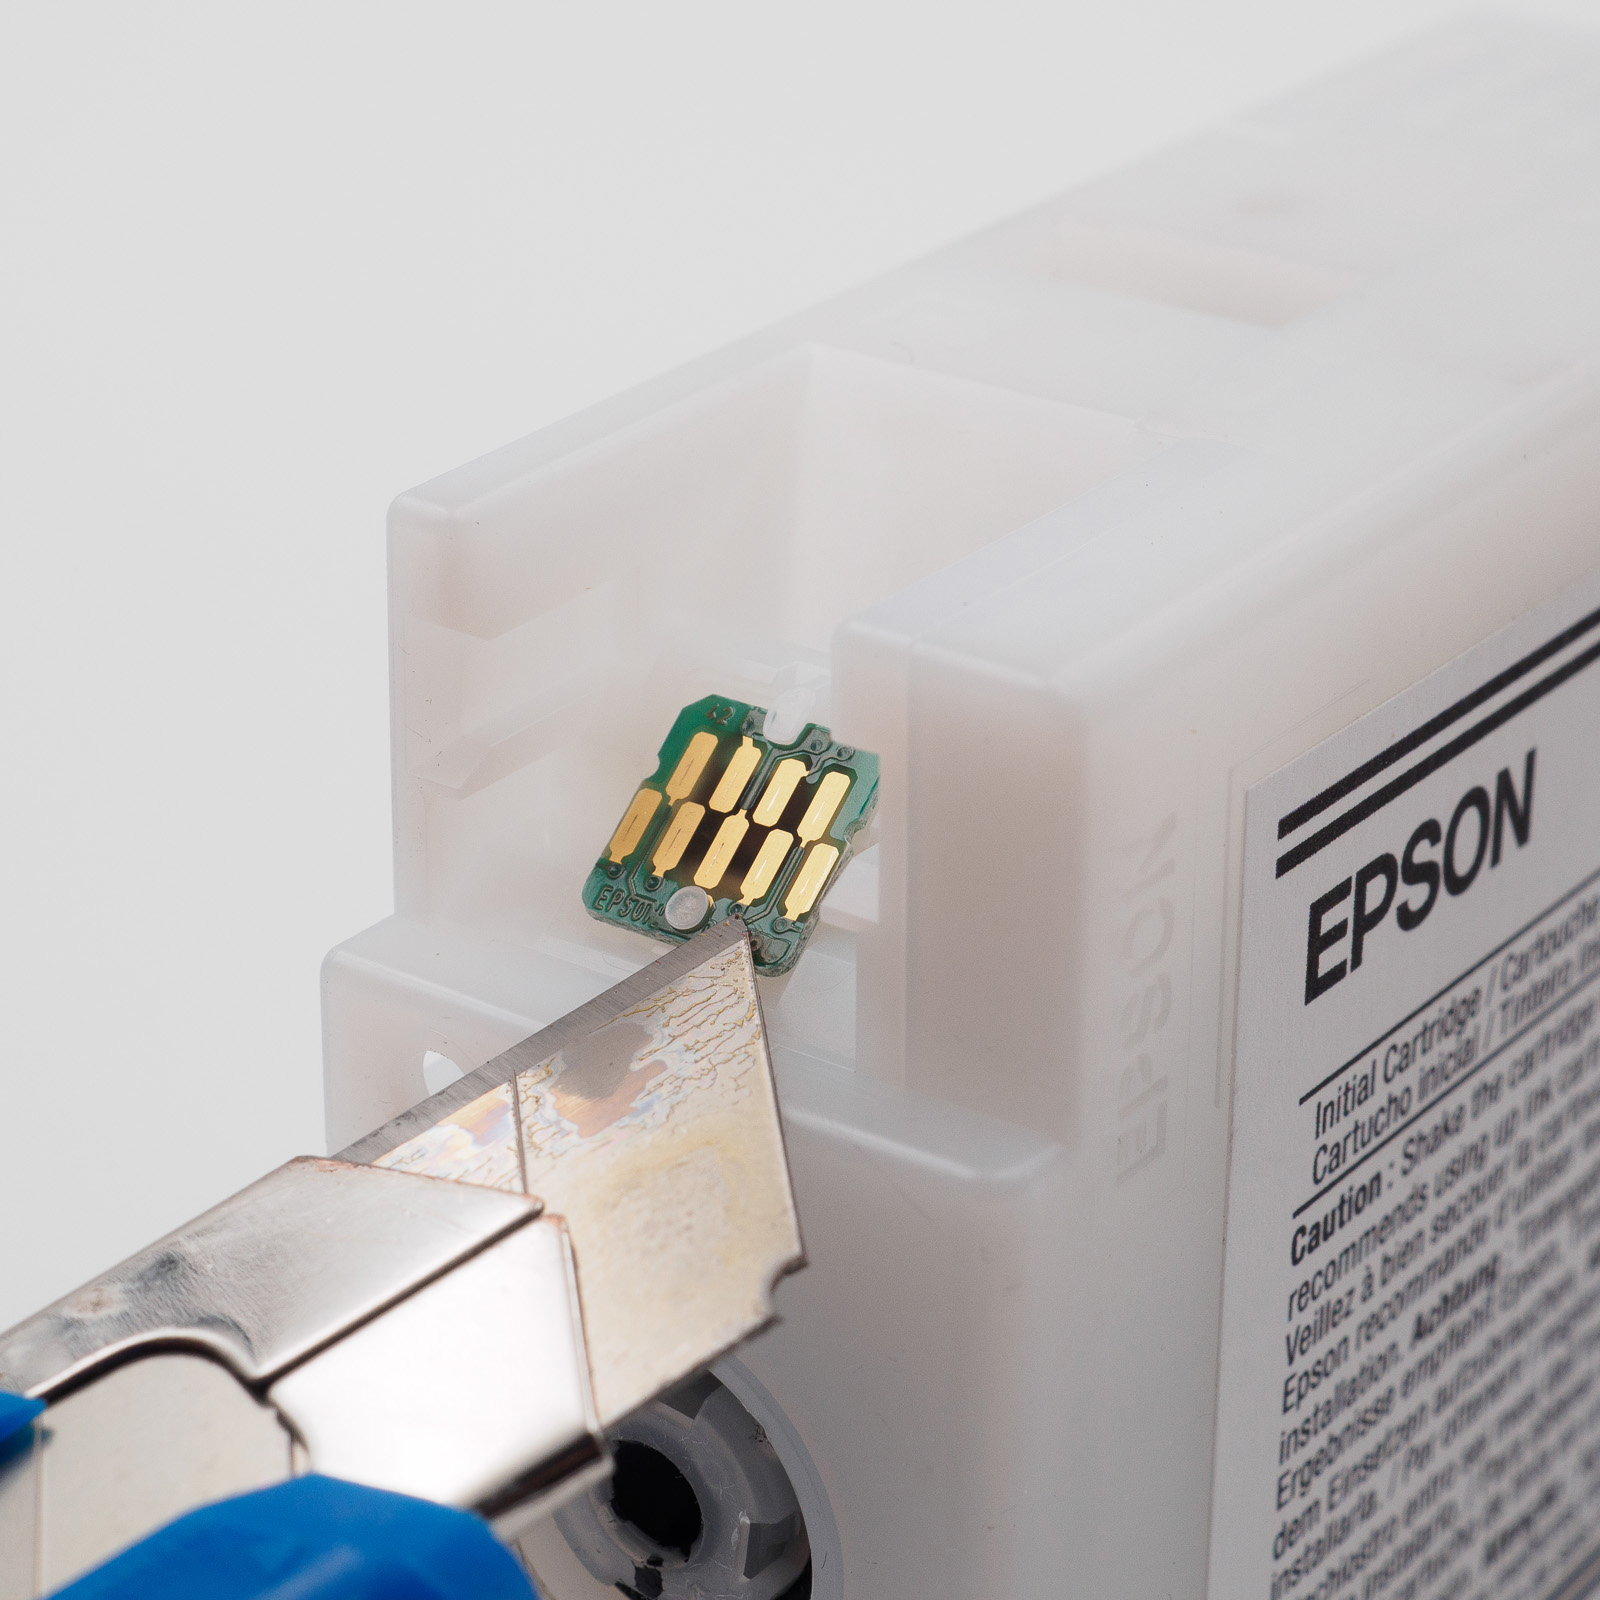
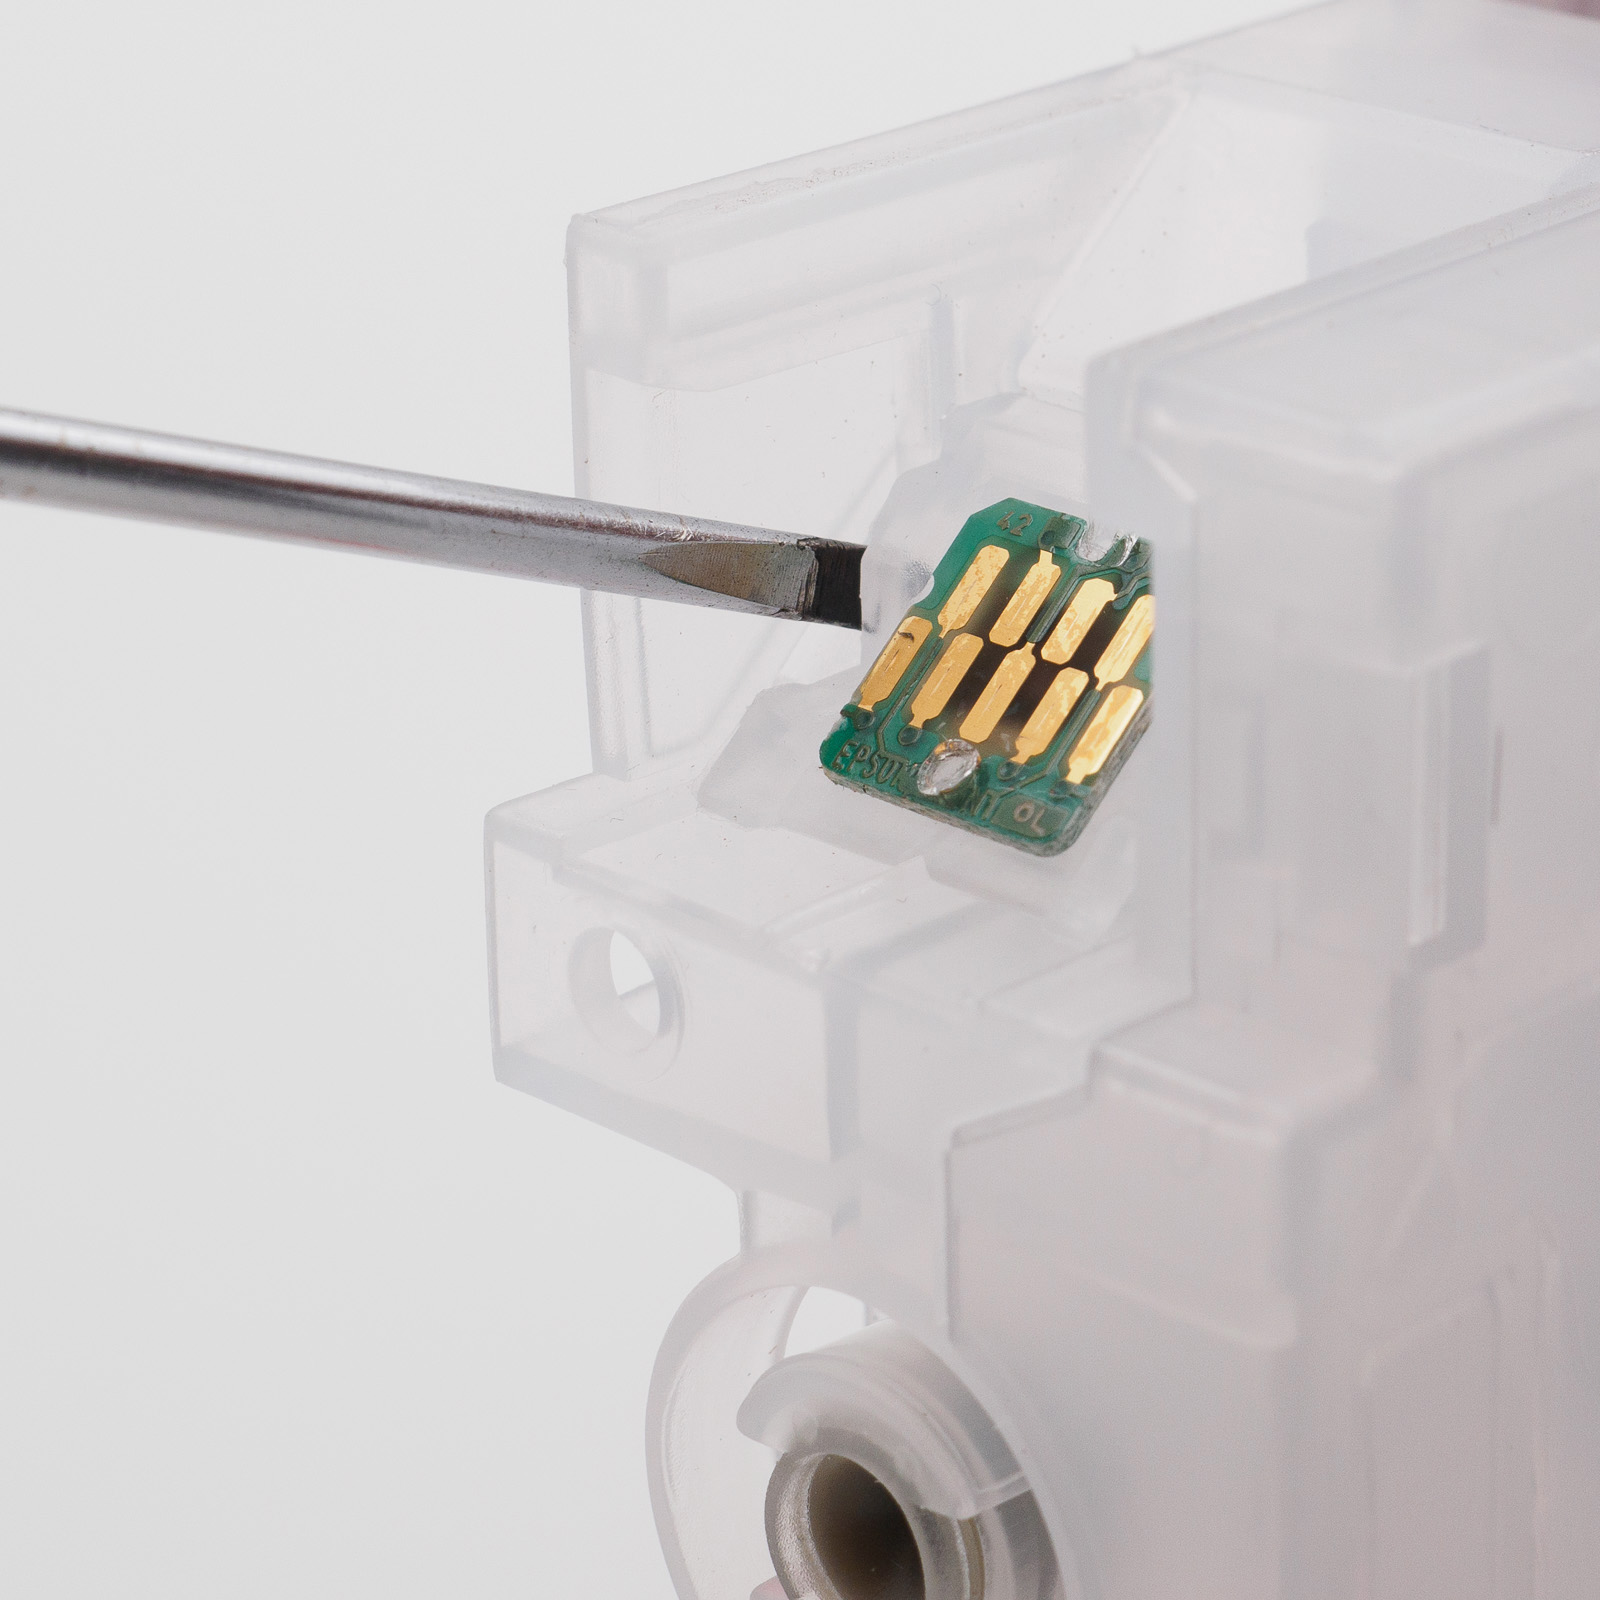
1. Remove the Chip from the Original Cartridge
Using a utility knife, carefully remove the chip from the original cartridge. Cut off the plastic caps of the two mounting posts as close to the surface as possible. Take care not to damage the chip during this process.
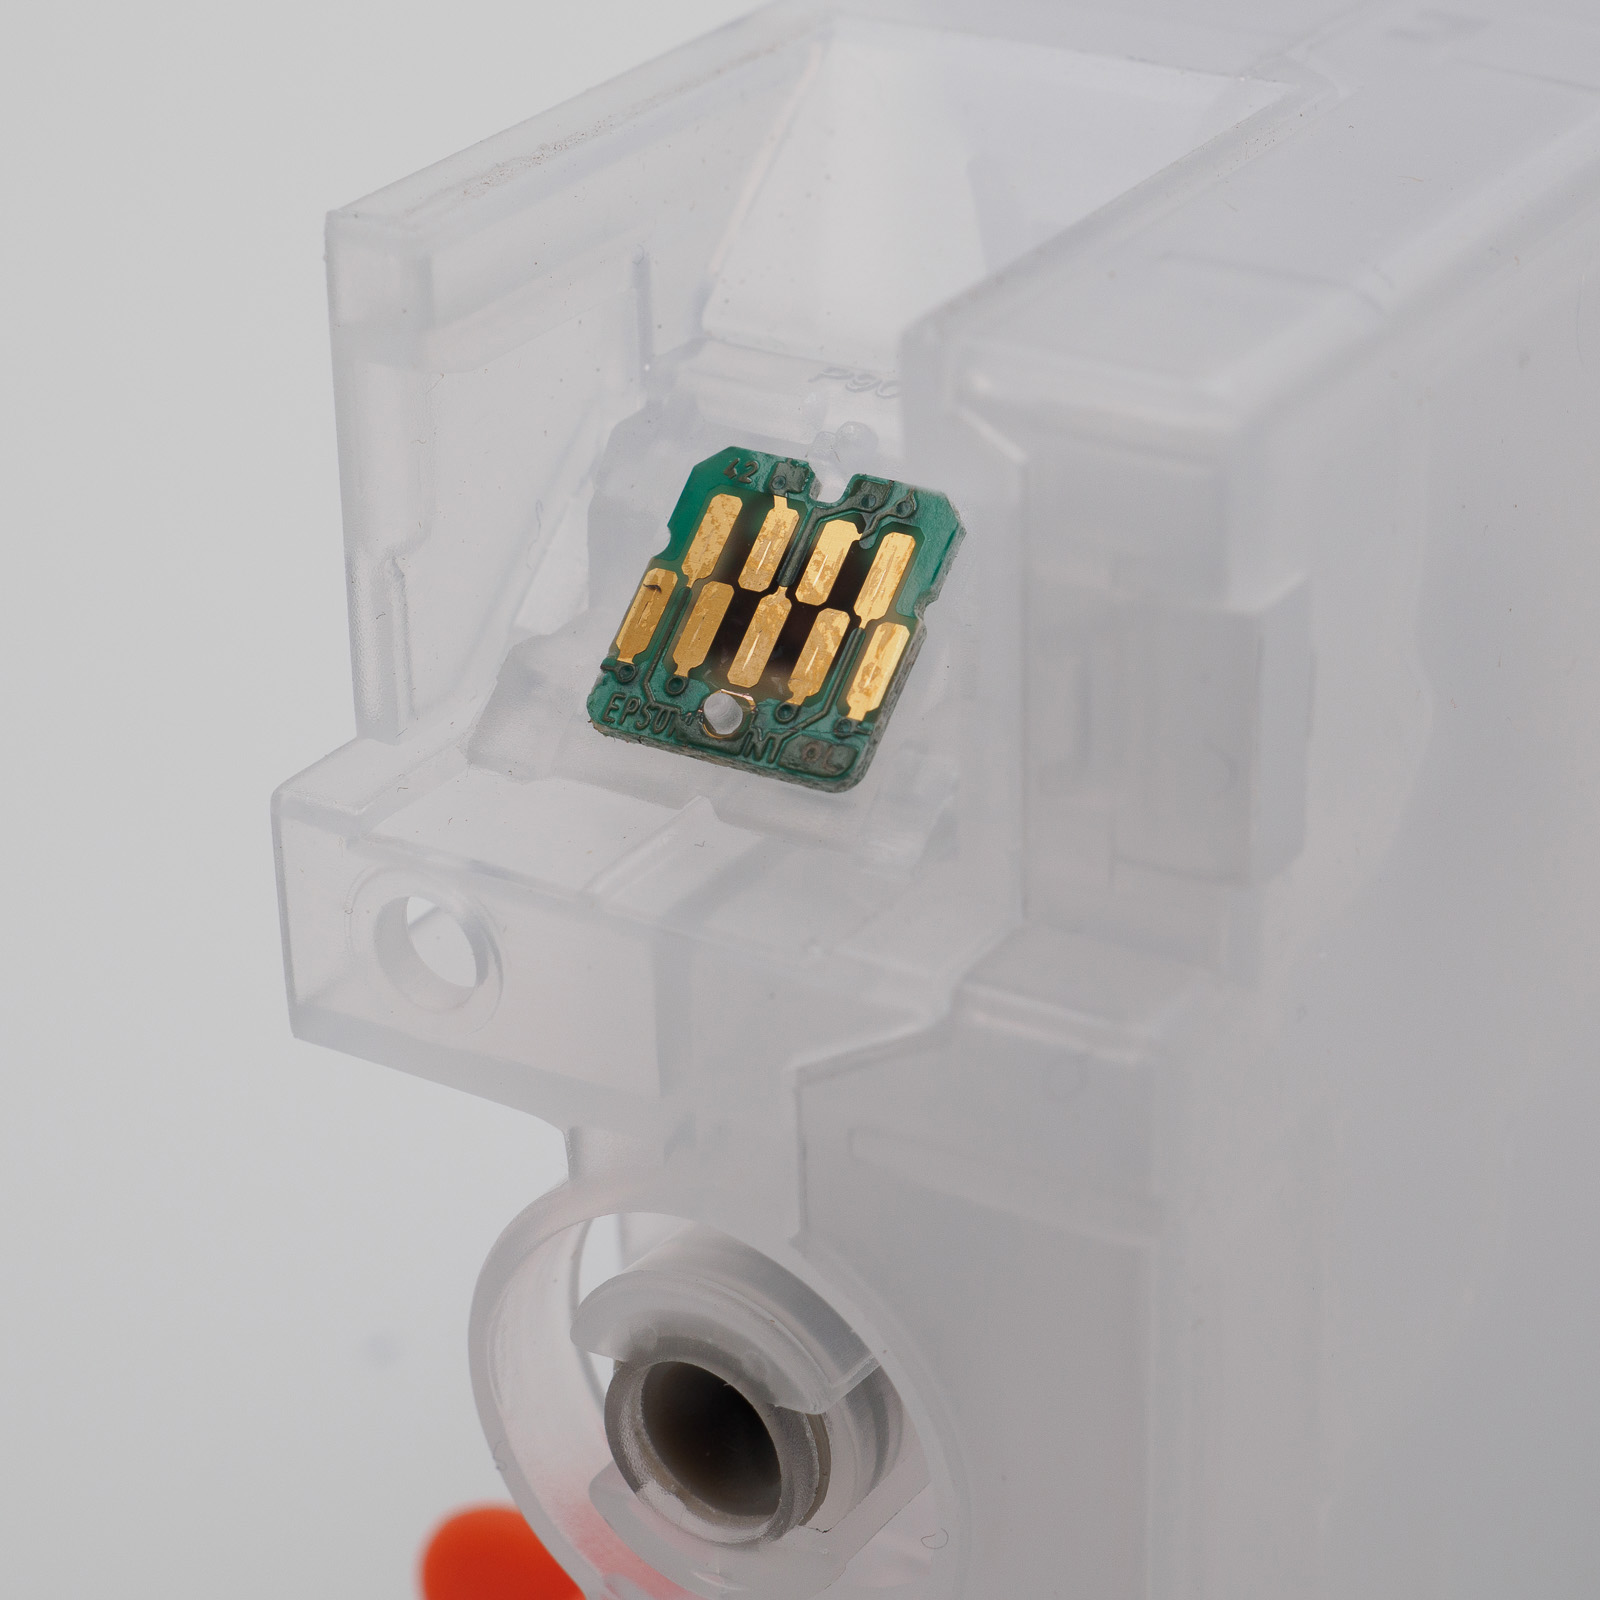
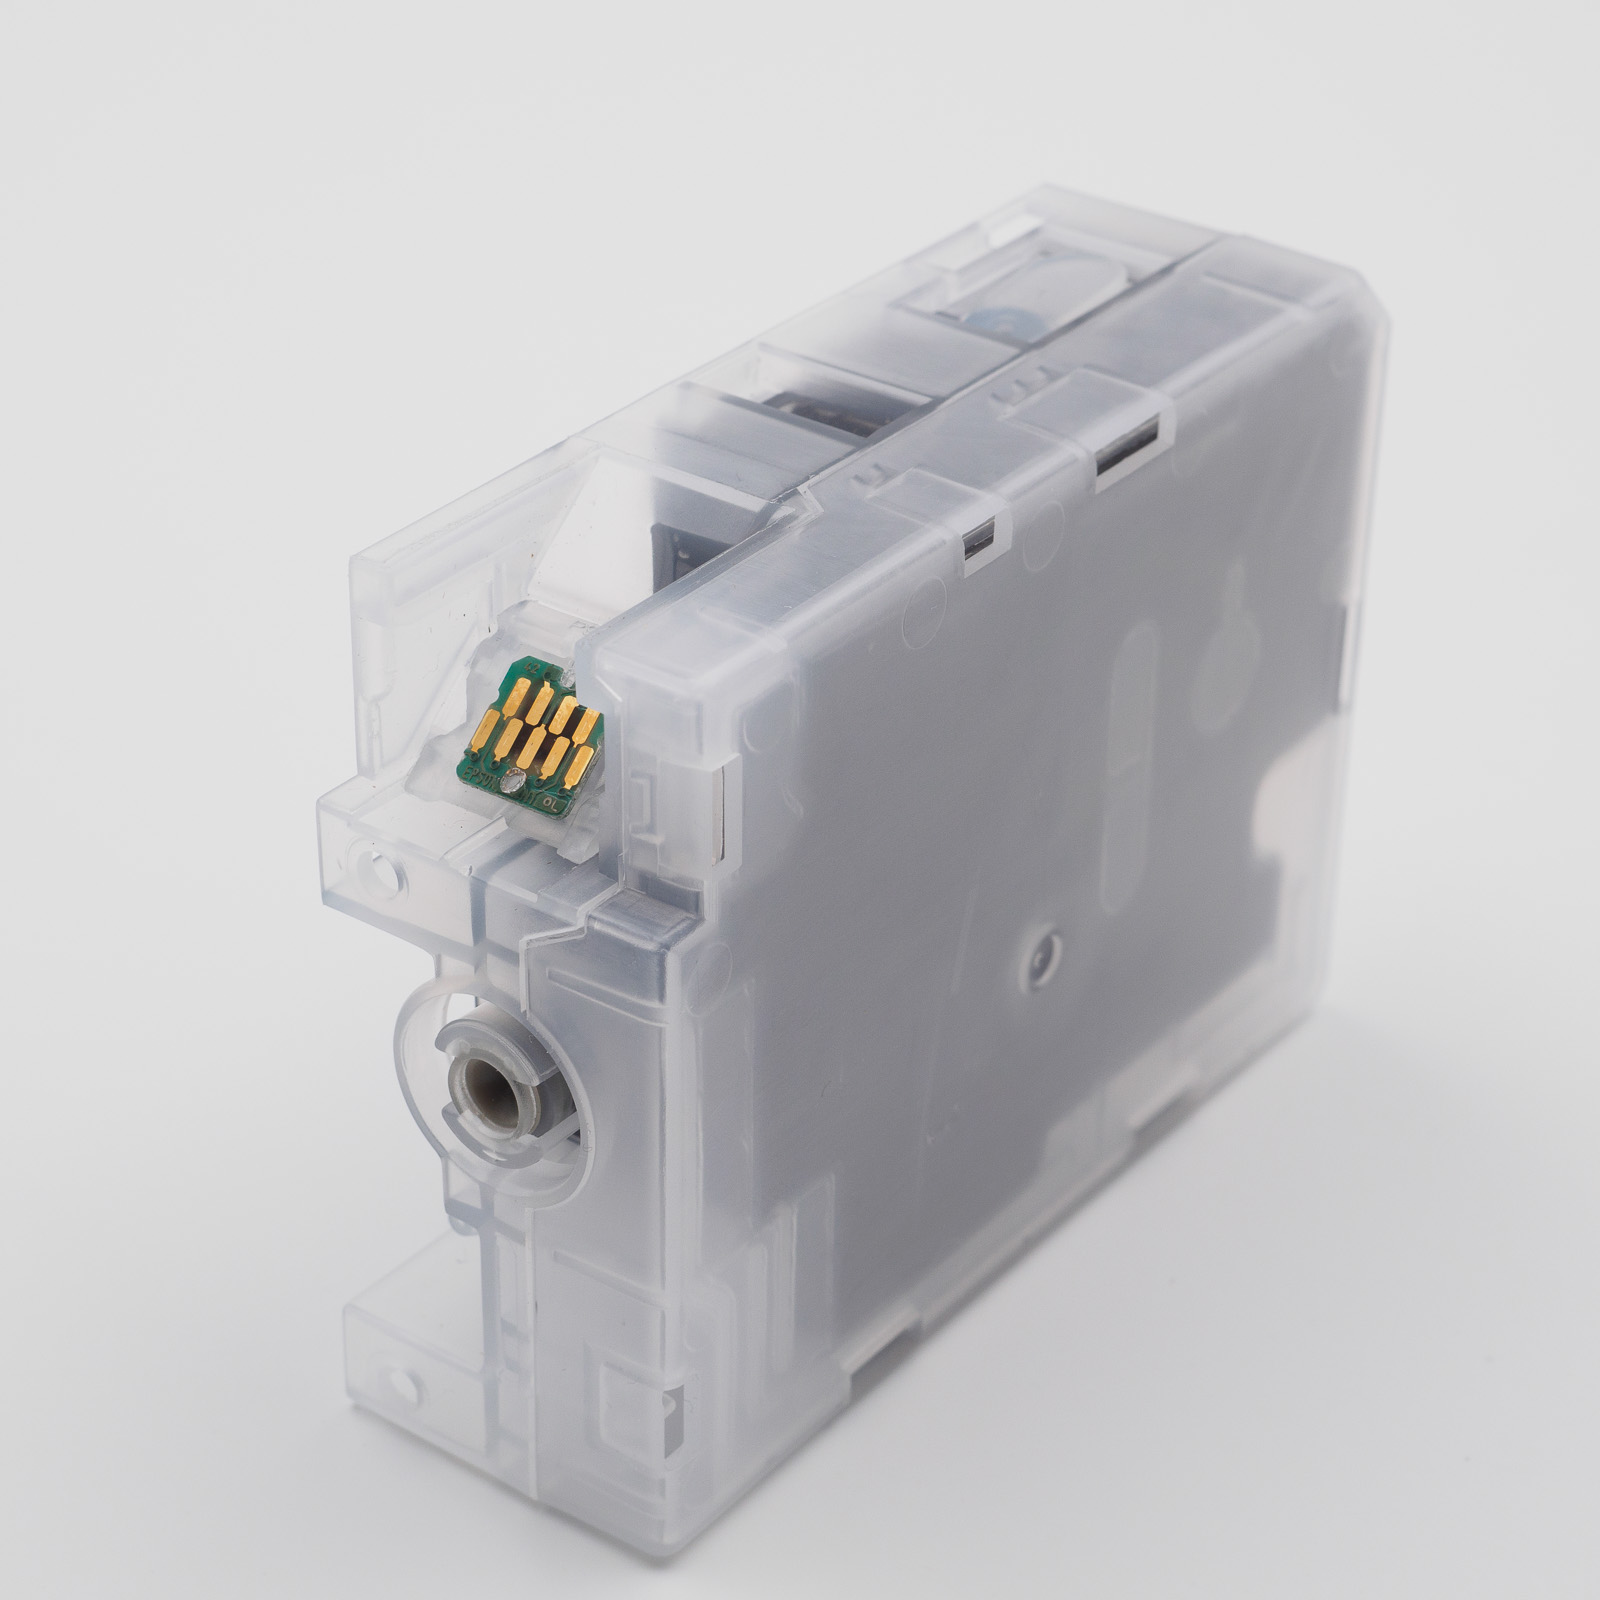
2. Install the Chip in the Chip Holder
Place the chip into the designated recess of the chip holder. The side with the four contacts must face upward.
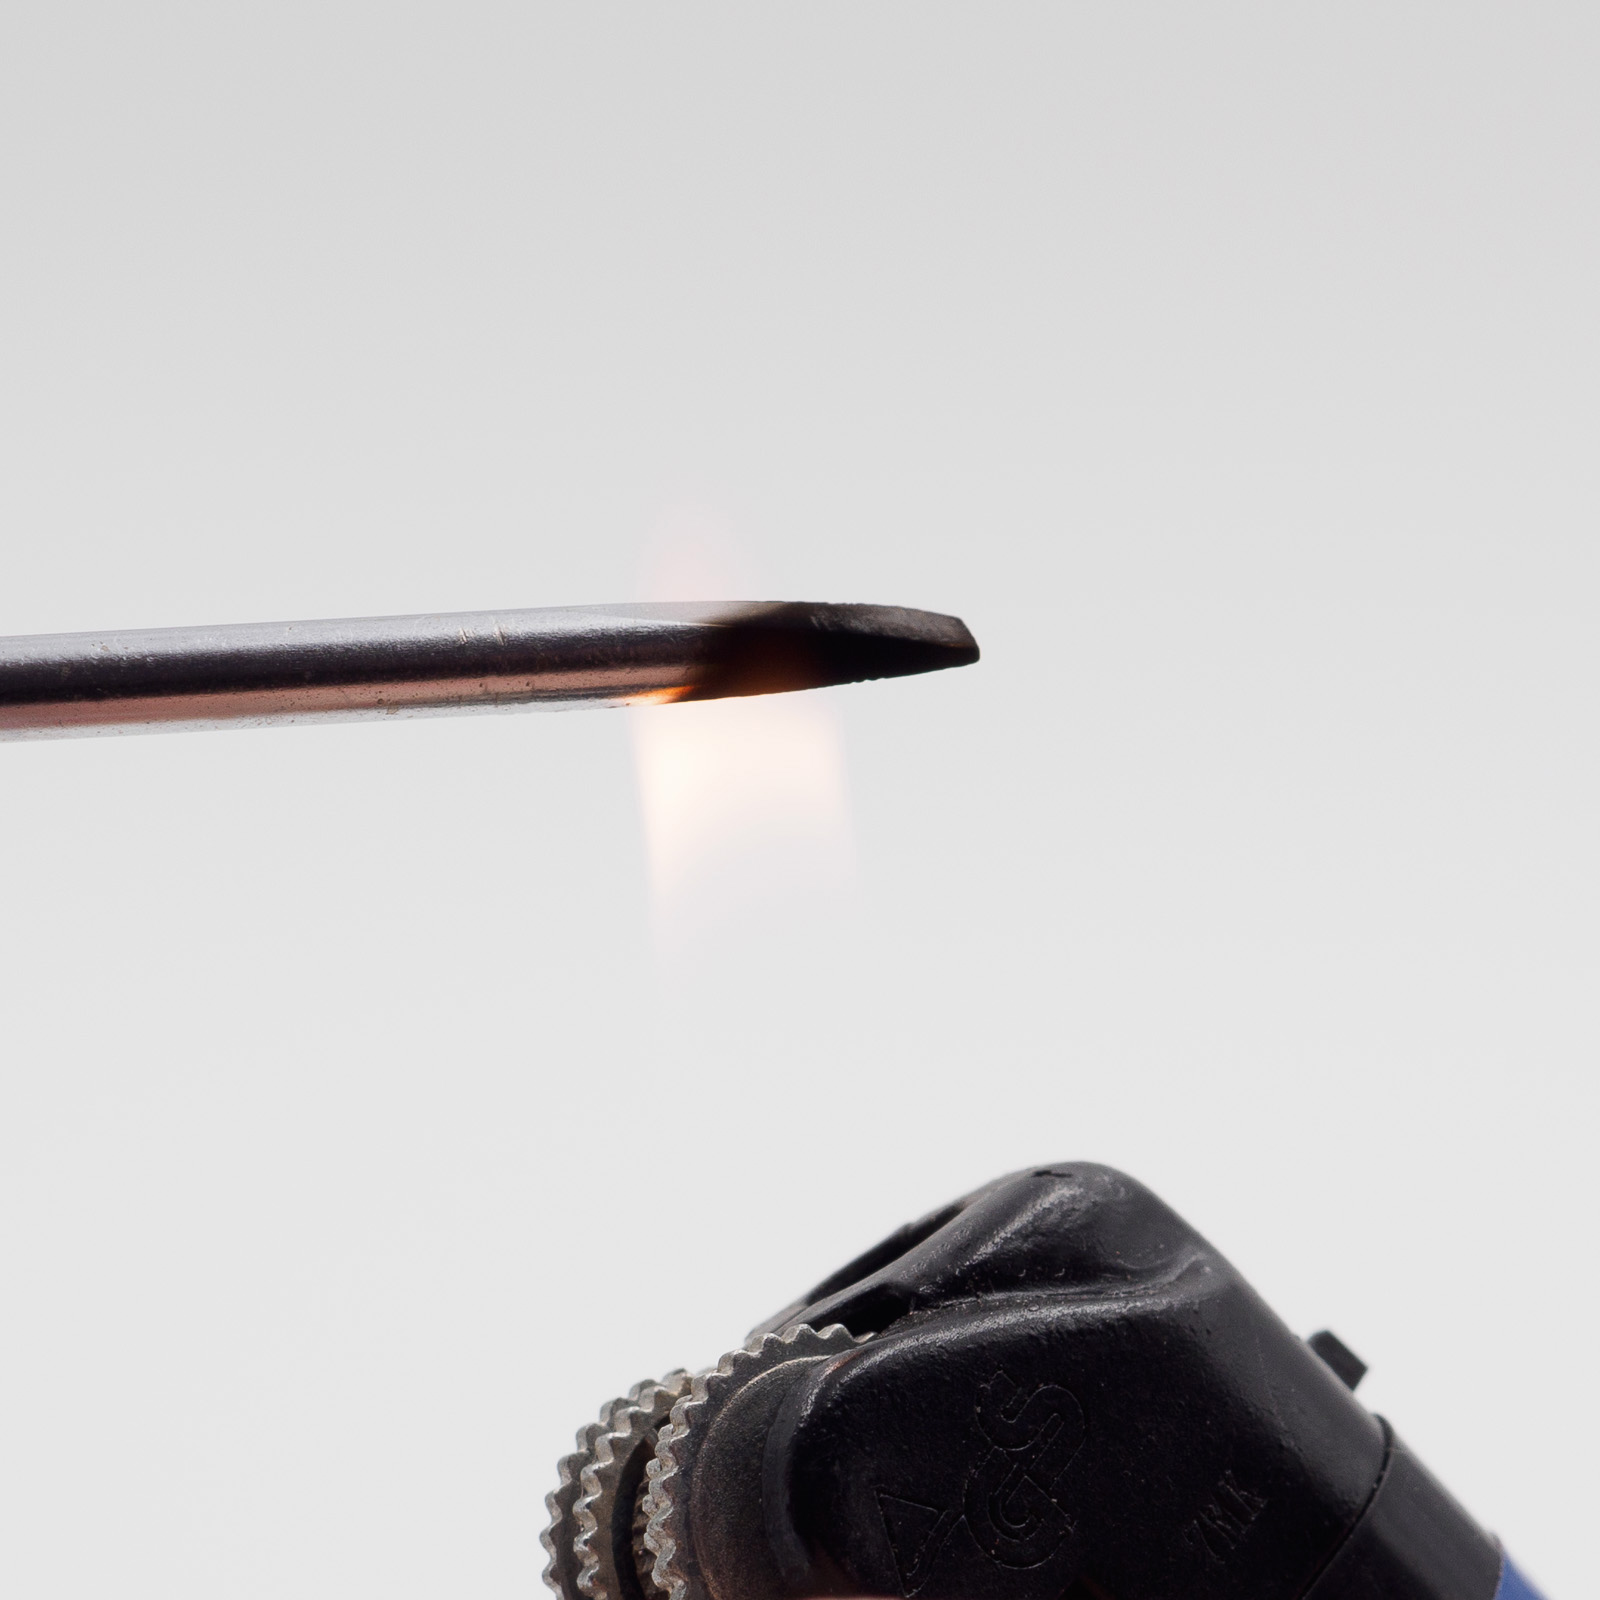
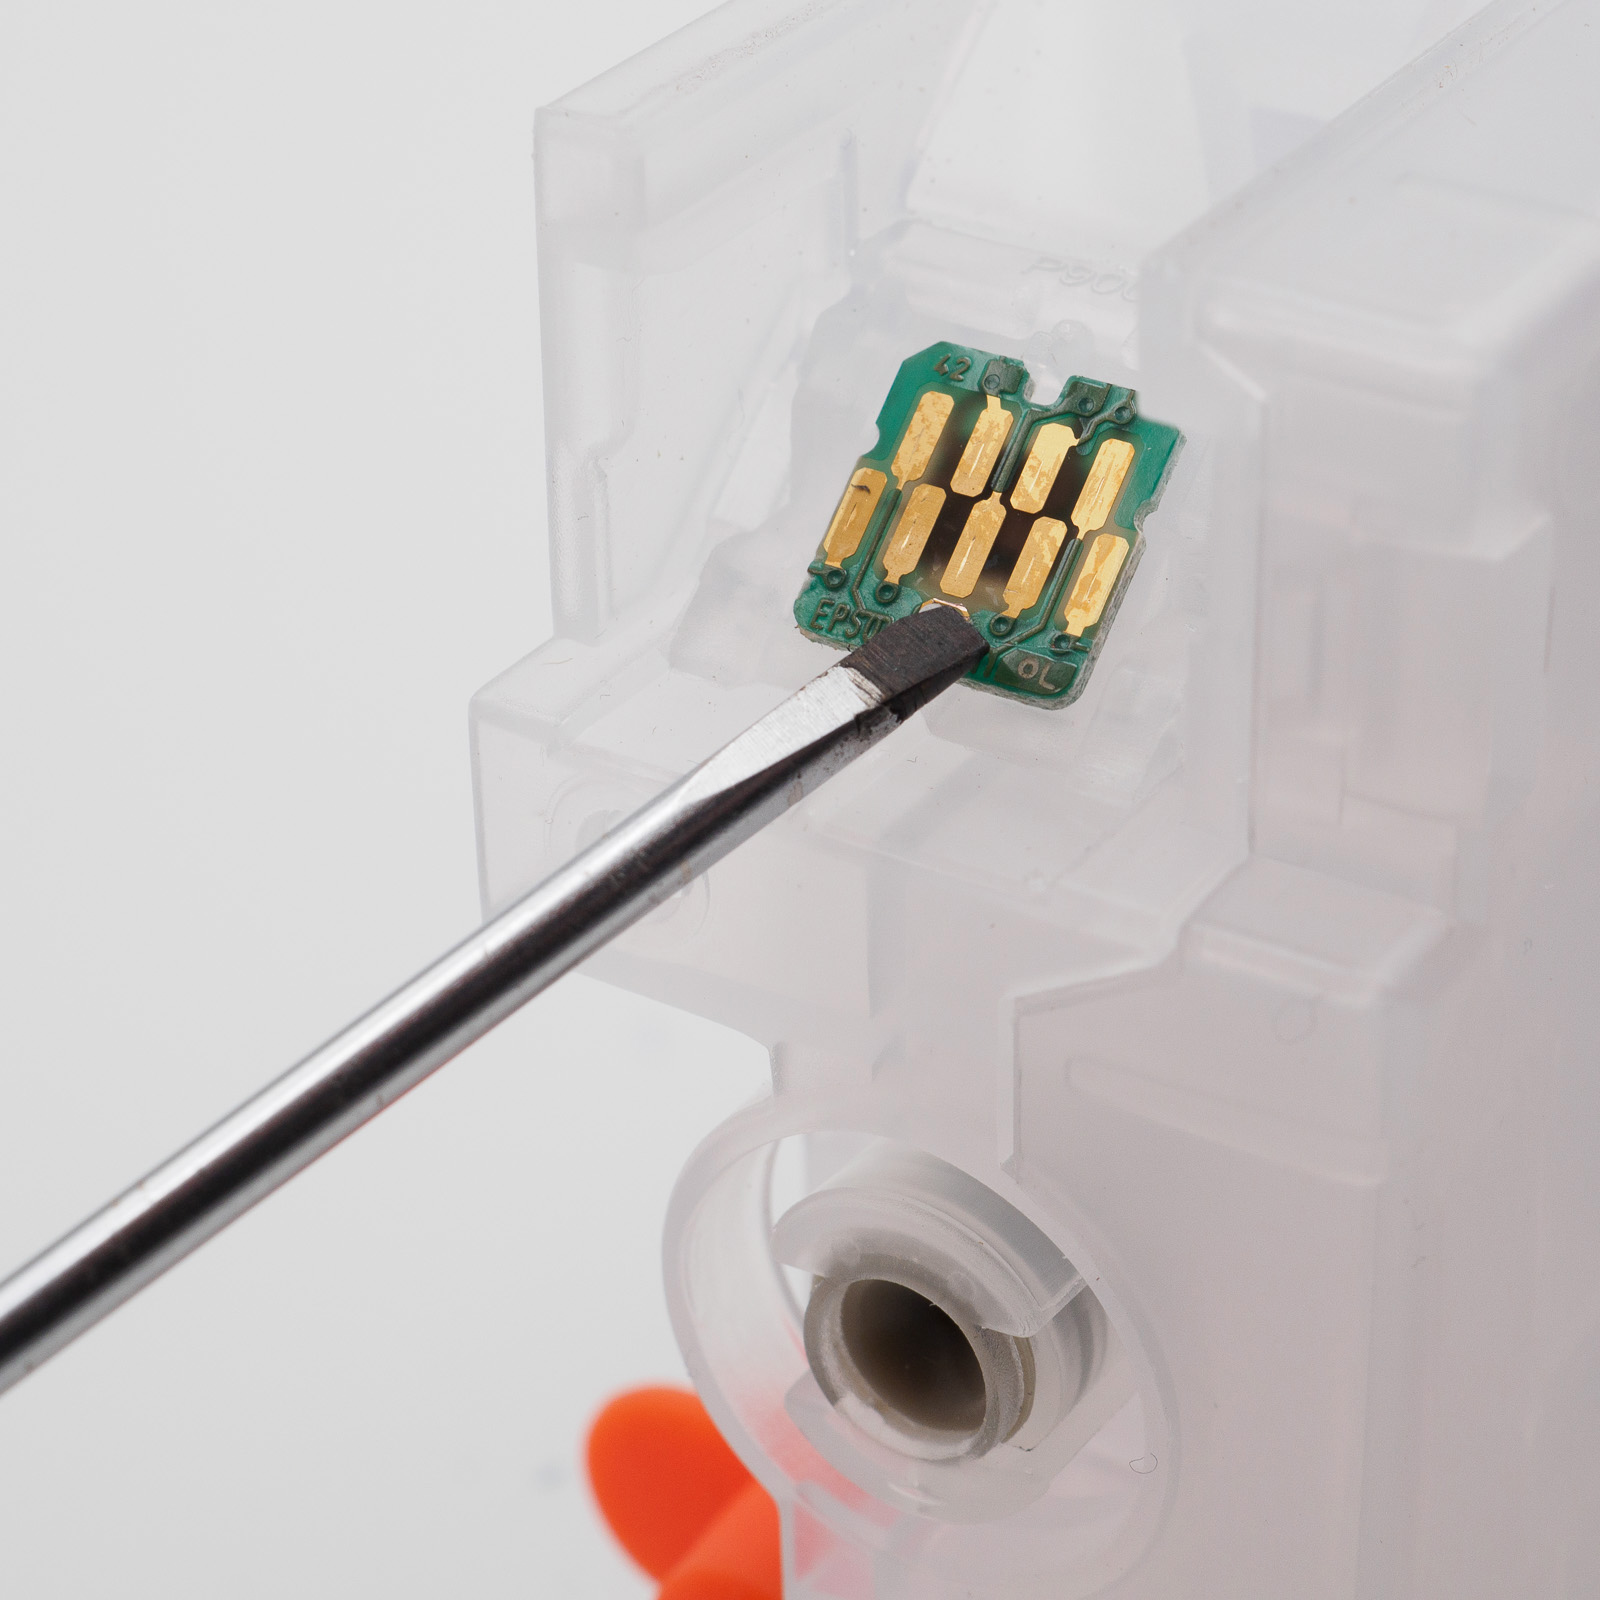
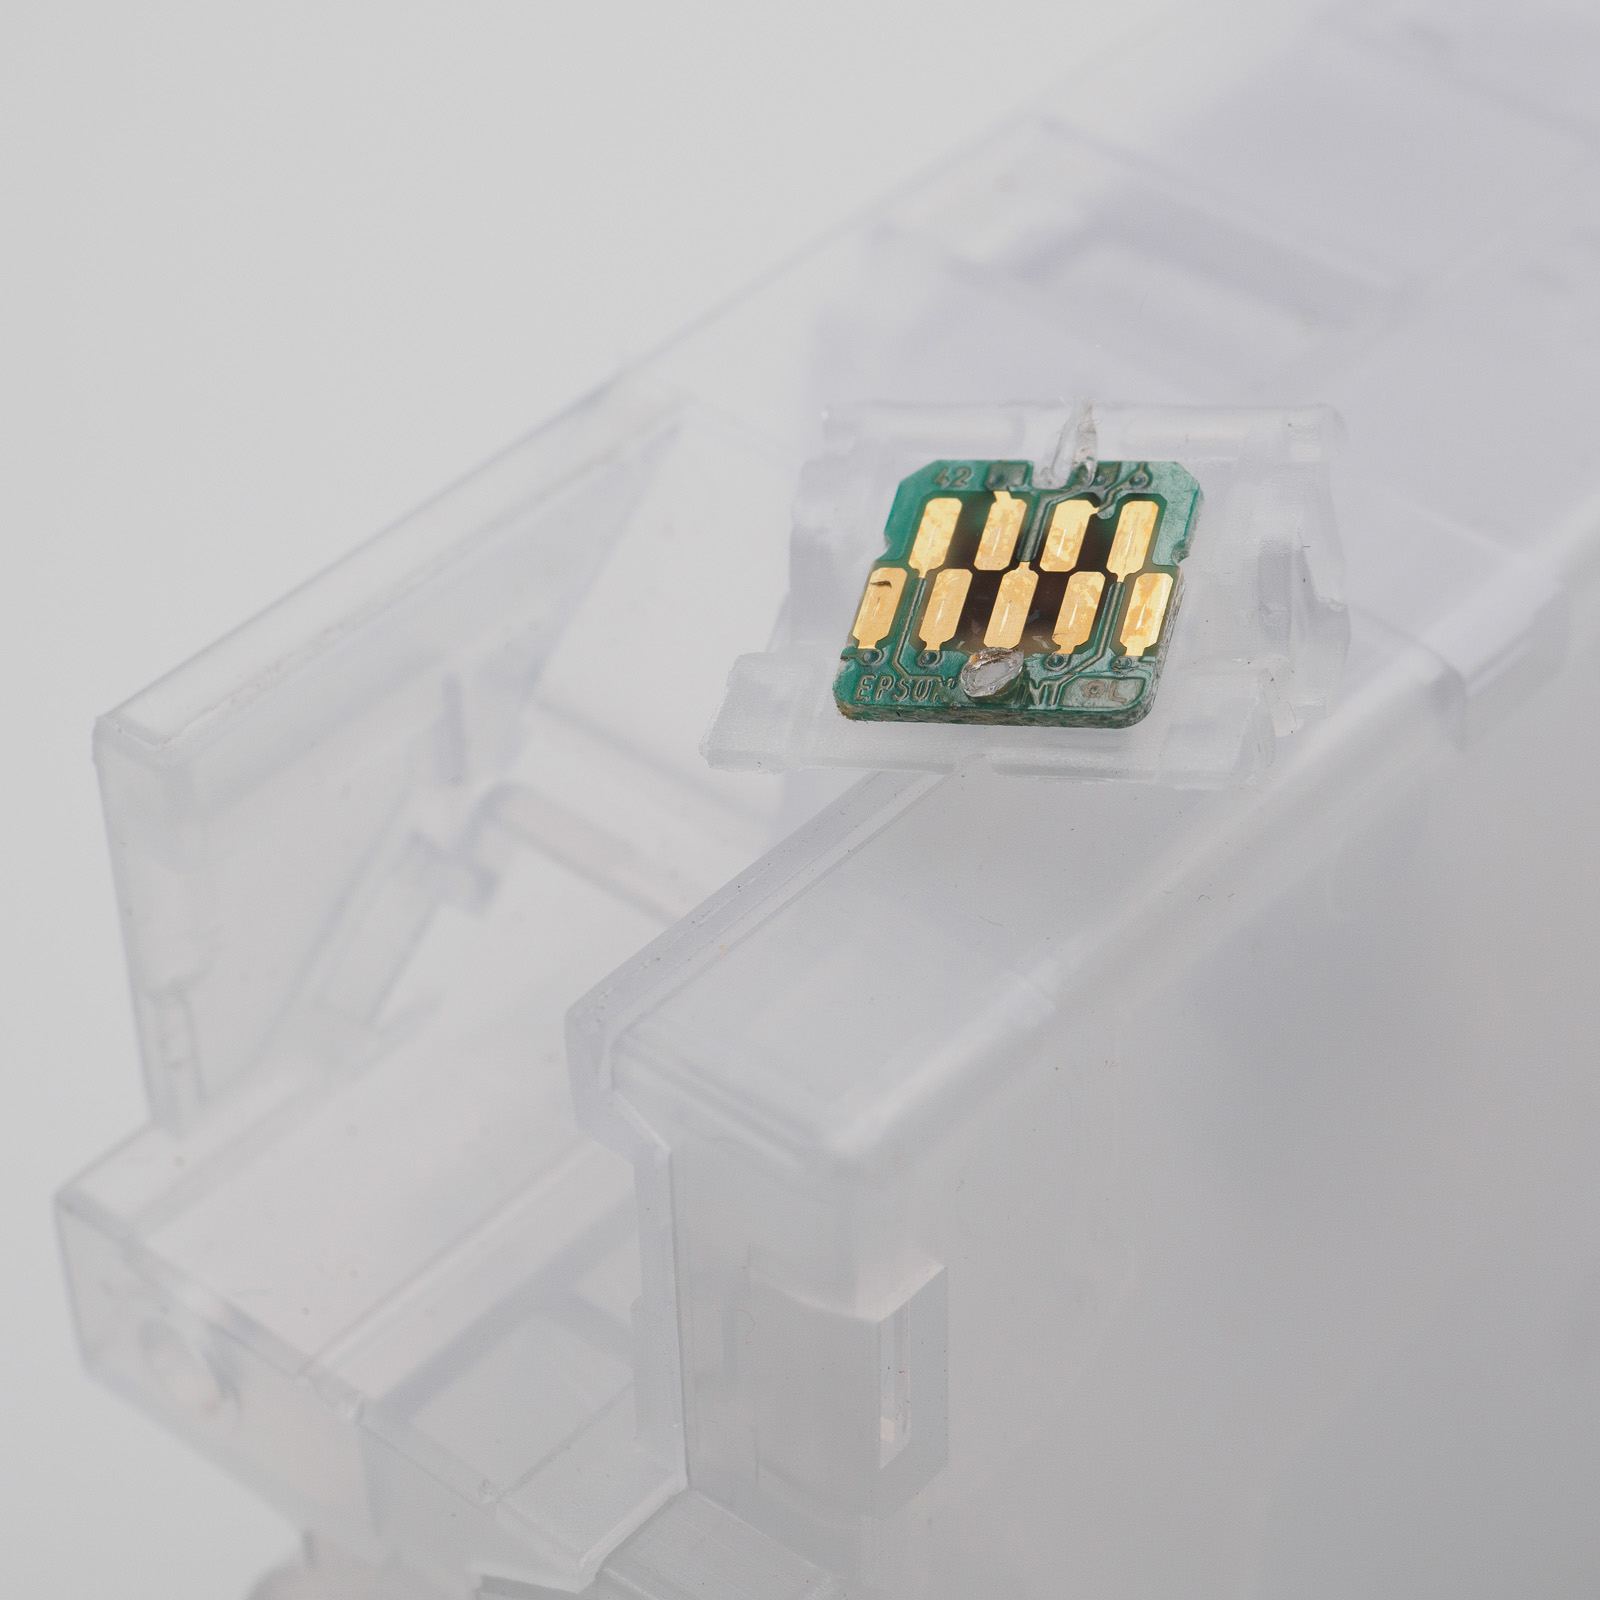
3. Secure the Chip
Heat the tip of a small flat-head screwdriver with a lighter and carefully melt the two plastic posts flat. This secures the chip in place.
Alternatively, you can use the tip of a utility knife blade or a similar tool. Ensure that the chip is firmly attached and sits flush with the holder.
4. Optional: Install the Chip Holder Separately
If desired, the chip holder can be removed from the cartridge body before installing the chip. After attaching the chip, reinstall the holder into the cartridge housing until it clicks into place.
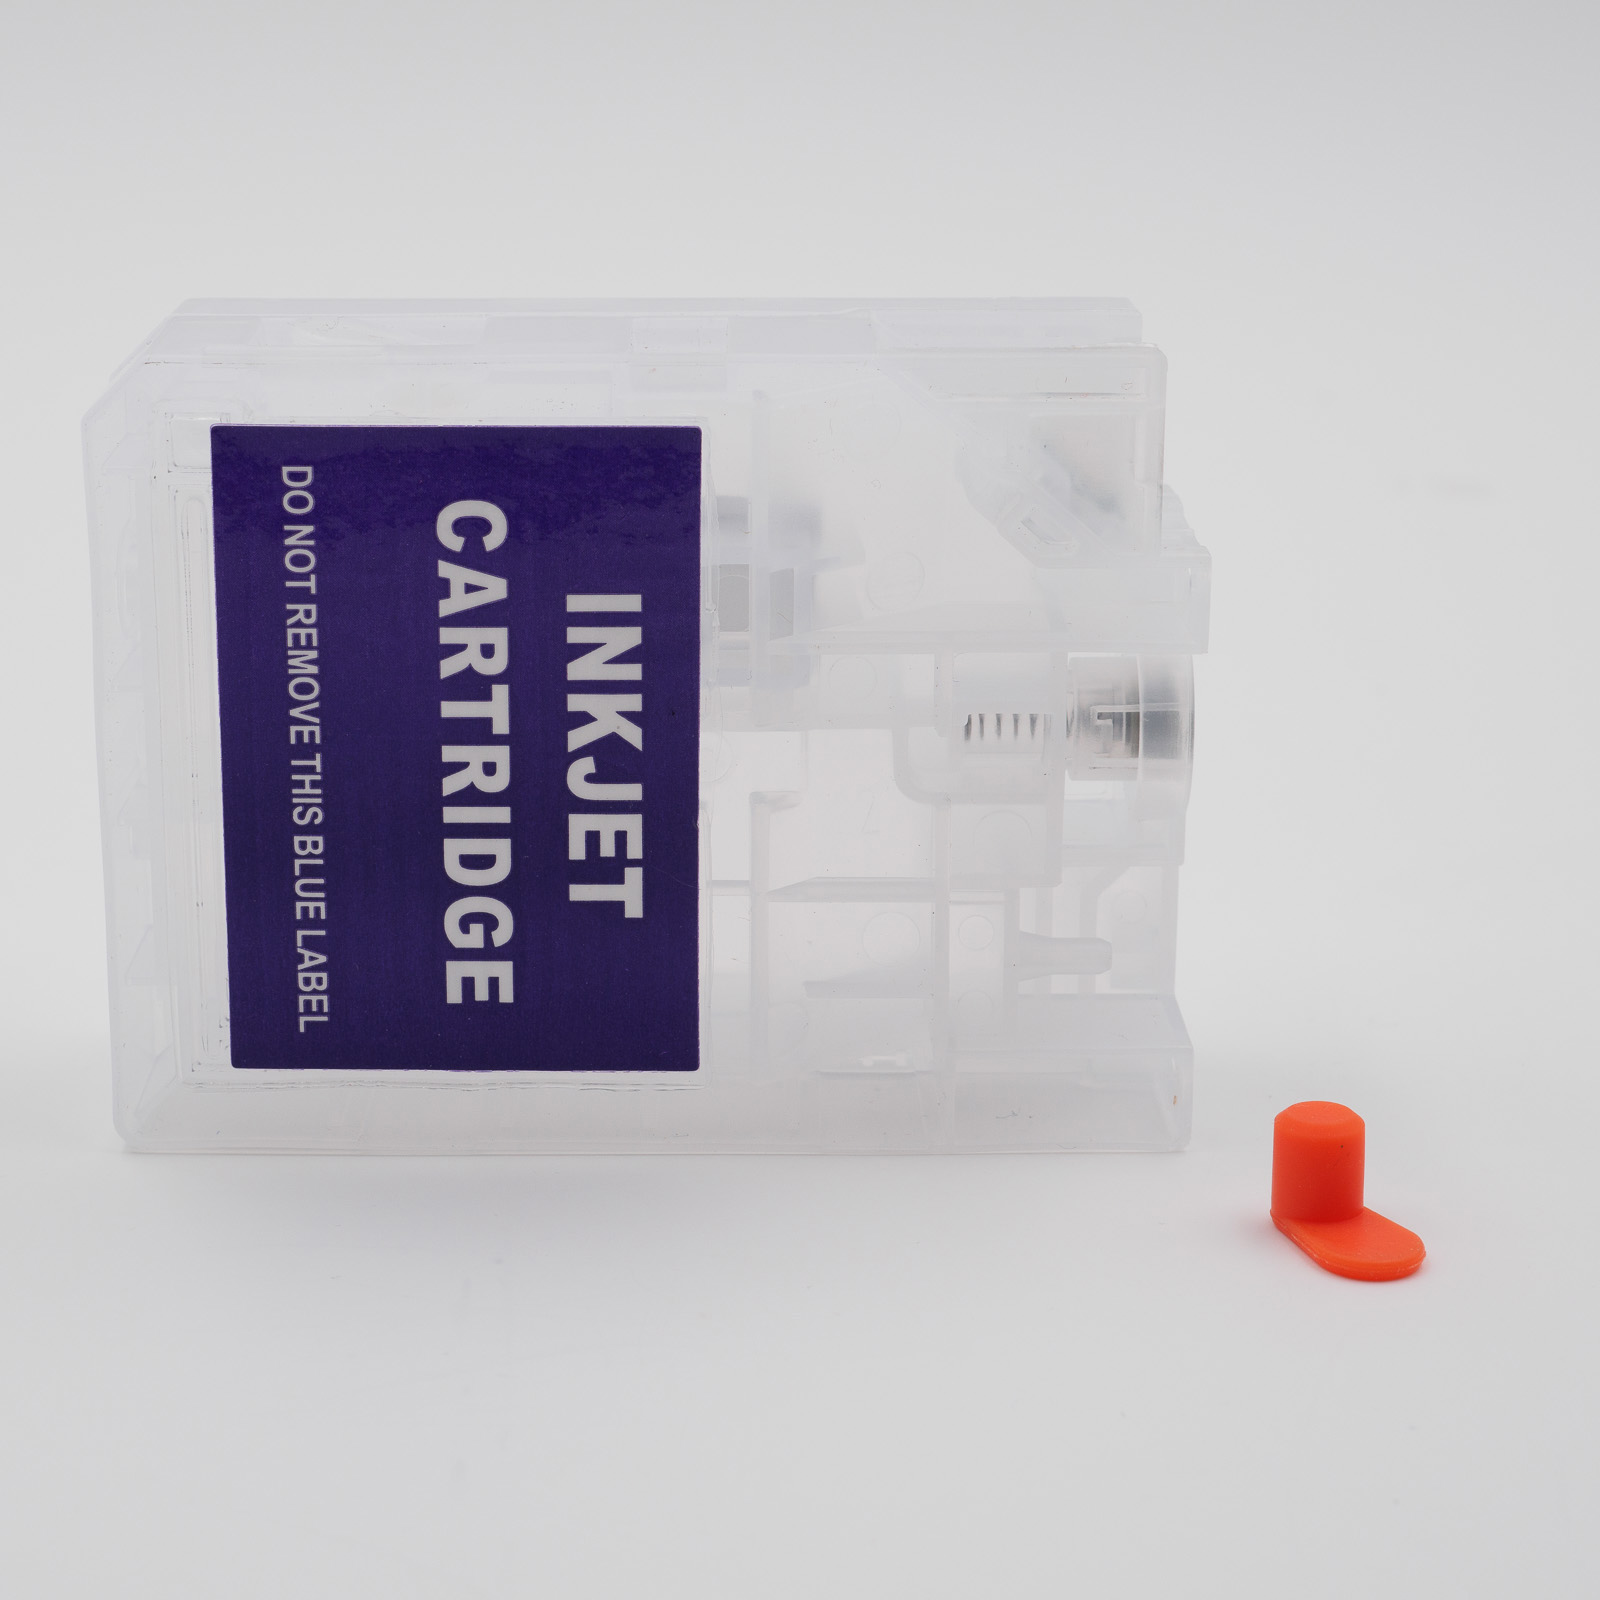
5. Remove the Rubber Plug
Remove the orange (sometimes yellow) rubber plug. This plug is not reinstalled after filling, but it should be kept for future use.
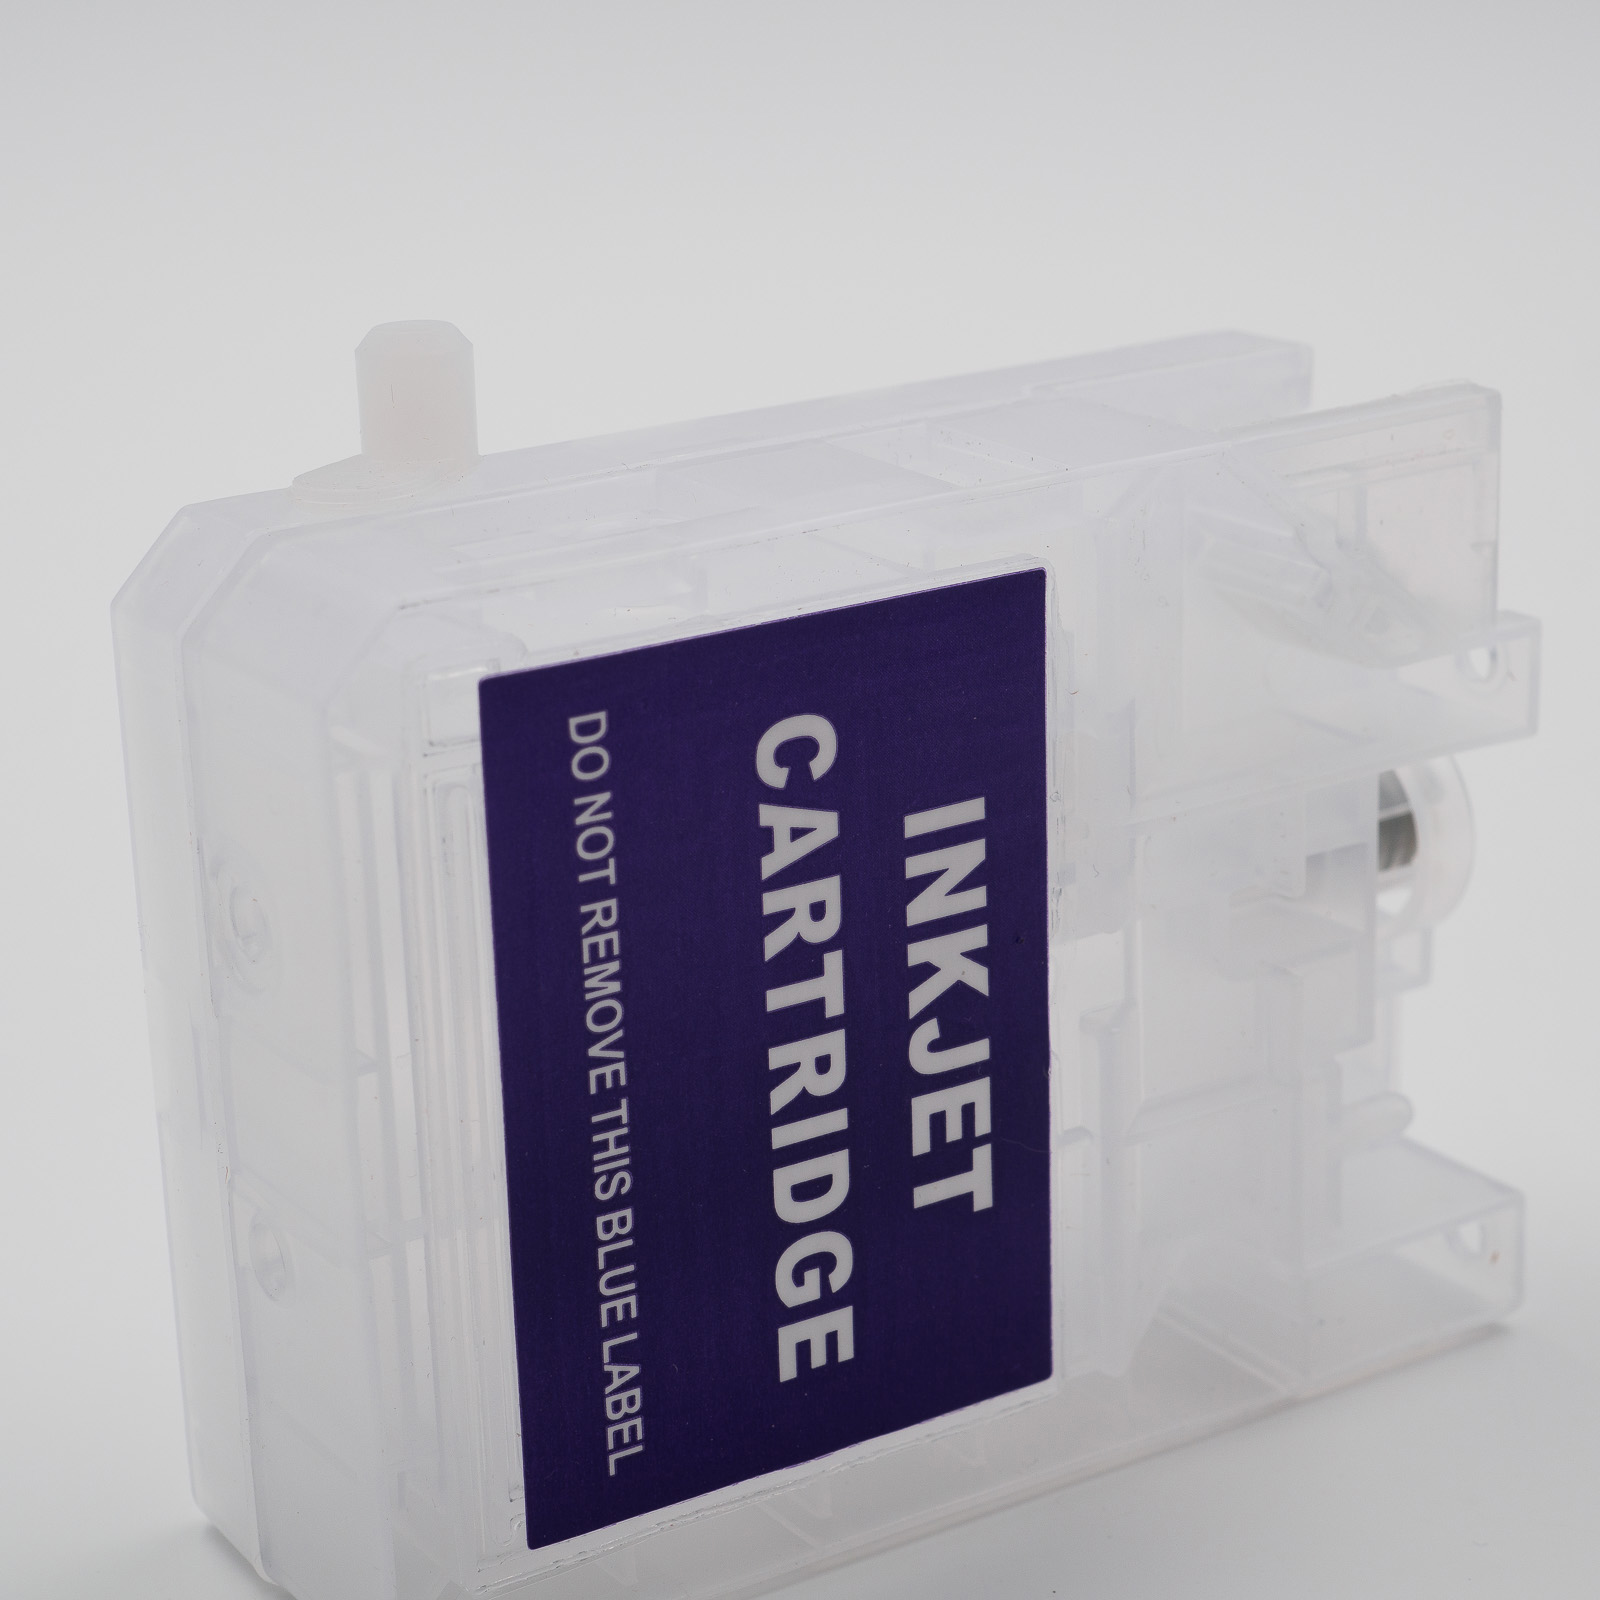
6. Fill the Cartridge with Ink
Open the fill port on the top of the cartridge and fill it with ink until full. The cartridge holds approximately 70 ml of ink.
Once filled, close the fill port securely.
7. Install the Filled Cartridge
Once filled, the cartridge is ready for use. The syringe and needle used for filling can be cleaned with water and paper towels, dried thoroughly, and stored for future refills.
Resetting the Chip
Before the printer can use the cartridge, the cartridge chip must be reset using a compatible chip resetter. Instructions for using the resetter are included with the device.
Important Notice Regarding Chip Resetting:
The cartridge chip can no longer be reset once the ink level reaches “Empty” and a red “X” appears. We recommend resetting the chip before the ink level drops below 10–15%. As long as a yellow warning symbol is still displayed, the reset can usually be performed successfully. Do not wait until the cartridge is completely empty.
The cartridge chip can no longer be reset once the ink level reaches “Empty” and a red “X” appears. We recommend resetting the chip before the ink level drops below 10–15%. As long as a yellow warning symbol is still displayed, the reset can usually be performed successfully. Do not wait until the cartridge is completely empty.
Usage Notes
The printer detects the use of a modified cartridge chip and will display a warning indicating that a third-party product is being used. This warning must be acknowledged several times before printing can continue. The same message will appear each time the printer is powered on.
After replacing a cartridge or resetting a chip, the printer may occasionally fail to recognize one or more cartridges. This issue can usually be resolved by:
- Unlocking and re-locking the Yellow and Violet cartridges
- Unlocking and re-locking all cartridges from left to right
The same behavior may occur after opening the printer cover. In this case, unlocking and re-locking the cartridges as described above will normally solve the problem.
When using third-party consumables, we strongly recommend disabling automatic firmware updates and avoiding printer firmware upgrades.
All trademarks and product names are used solely for compatibility identification purposes and are the property of their respective owners. Their use does not imply any affiliation with or endorsement by the original manufacturers.

